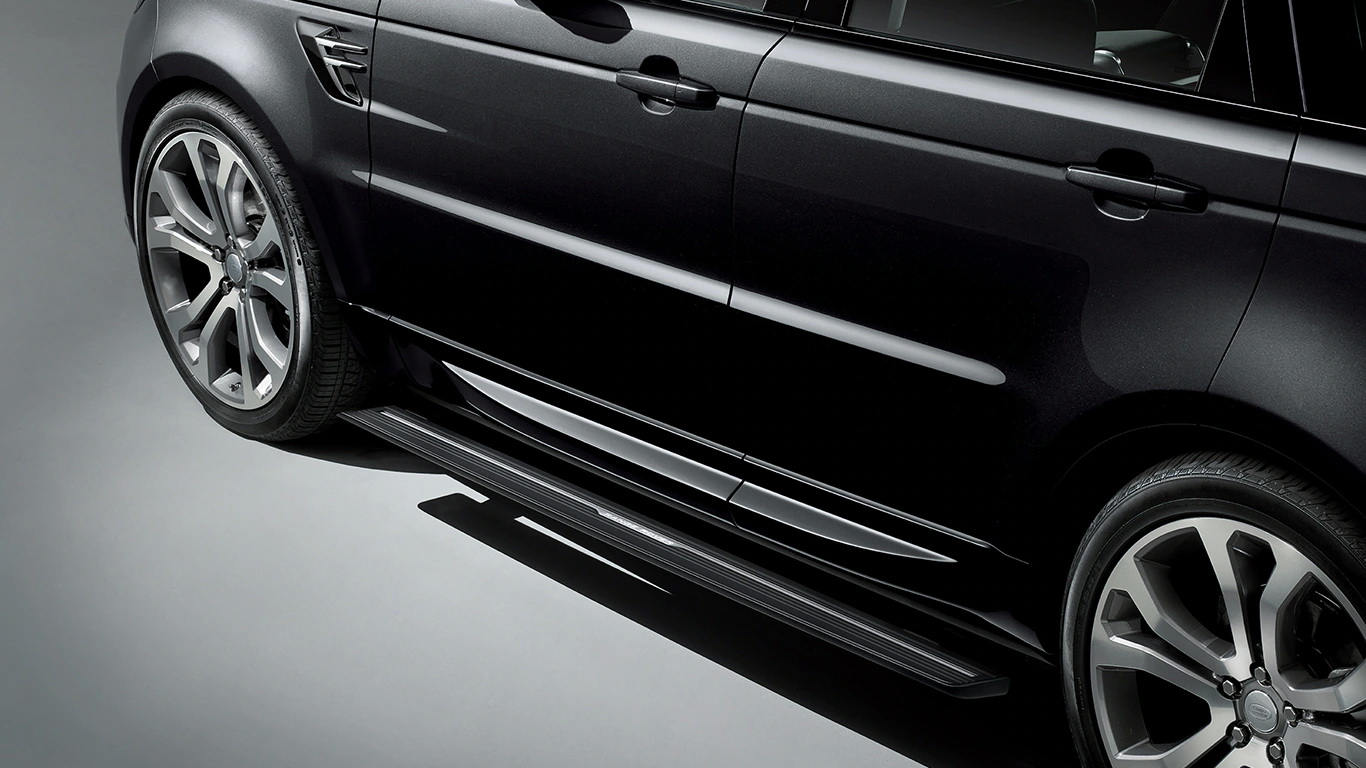

Side Steps
How to Install Side Step on your Range Rover Evoque

Jan
Offering several benefits, side steps are essential for any lifted vehicle. These accessories not only increase your car’s aesthetic appeal but also provide immense practicality. However, most vehicles do not have pre-attached side steps, such as the Range Rover Evoque. This would mean getting side steps installed yourself, which can seem like an overwhelming task. Follow our step-by-step guide on installing side steps for a simple and efficient way to upgrade your car.
The mounting process can depend on various factors such as the vehicle’s type, model, and make. This guide focuses on installing side steps on the Range Rover Evoque.
Before you start the process, it is important to ensure that all the required tools are present. The following items will be required.
- Safety glasses and gloves
- Padded mat or creeper
- Box end wrenches
- Ratchet and Socket Set
- 2 head star screwdrivers
- Cutting tool
- Trim Tools
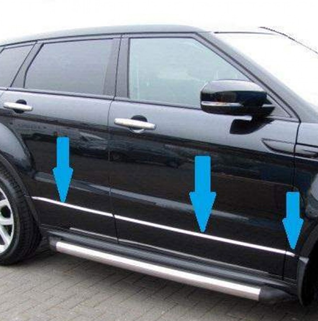
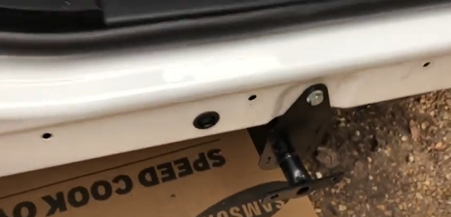
Step: 1 Remove the Plastic along the Sill
Take off the plastic strip that runs across the sides of the car. Take a 2 head star screwdriver and start taking the bolts out from the sides.
If any bolts are stuck, remove them with a plier. Be cautious while taking out the last bolts as the plastic strip may fall on you.

Step:2 Take off the Side Clips
Take out your trim tool and lodge it behind the clips on the outer sides of the vehicle. Pull the tool to remove the whole plastic strip.
If the trim isn’t coming out, take a pencil tool and apply pressure to take off the plastic strip.
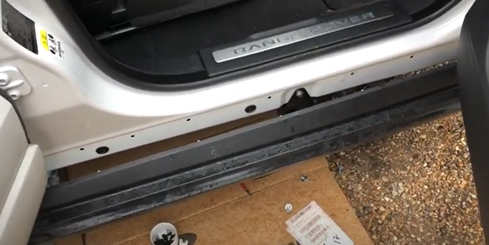
Step: 3 Attach Brackets
After taking off the clips, you will notice that there are two dents beneath the front and back doors of the vehicle. Attach the brackets to these dents. Remove the plastic from the factory-drilled holes and attach the brackets.
The side steps are marked R1, R2, L1, and L2. Each one signifies which door the bracket is supposed to be attached to. R1 and R2 are for the front right and rear right respectively, while L1 and L2 are for the front left and rear left respectively.
Step: 4 Reattach the Plastic
After mounting the brackets, reattach the plastic to the sills. Cut two squares on the plastic to accommodate the area taken up by the brackets.
The process is fairly simple. Use a cutter to carefully cut out two squares. Ensure that the cuts are neat so that the overall aesthetic value remains intact.
Step 5: Attach the Side Steps
Carefully align the side steps with the holes in the brackets and screw them in. Fully tighten the bolts to ensure that the side steps do not loosen up or detach. Once this step is complete, you can enjoy your brand-new side steps on your Range Rover Evoque.
